
As many of you are aware, Microsoft provides a default logon page for OWA, the Outlook Web App. Most companies, like myself want to be able to customize that page so that it suites your organization. Here is what my company OWA page looks like:
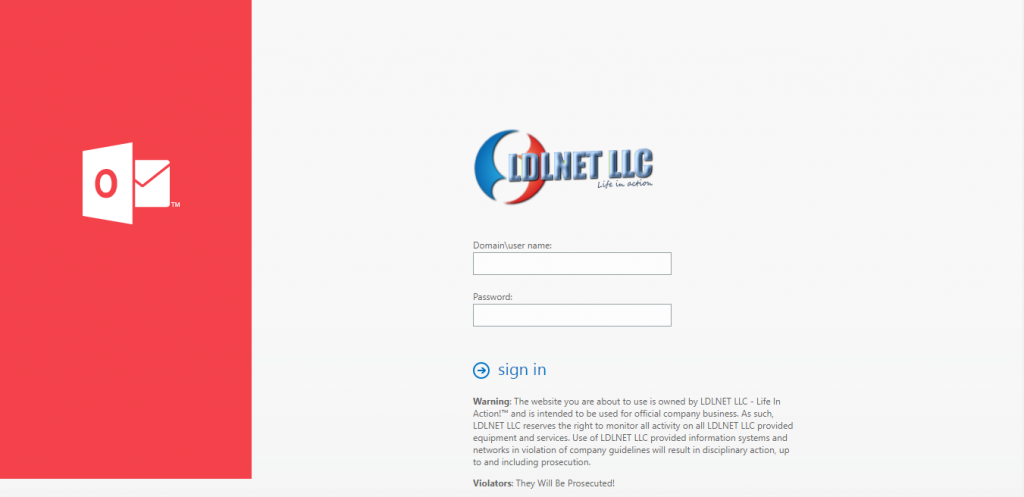
I have changed the color on the left to match my scheme, replaced the Outlook Logo with my company logo, and added a disclaimer to notify users. Below is the process to do that effectively for your organization.
NOTE: Every time you install an Exchange Cumulative Update (CU) or new version of Exchange Server these modified files will be replaced. Remember to backup your original and changed files to another folder so that you can replace them when you Update or Upgrade or if something goes wrong with the changes.
Customize the color of the Outlook on the web sign-in page
- Use Notepad to open the file:
%ExchangeInstallPath%FrontEnd\HttpProxy\owa\auth\<ExchangeVersion>\themes\resources\logon.css
- In the
logon.cssfile, replace the default blue hexidecimal color value #0072c6 with the HTML RGB value that you want to use. You can use the following LINK to choose the color you wish to use.
- When you’re finished, save and close the file.
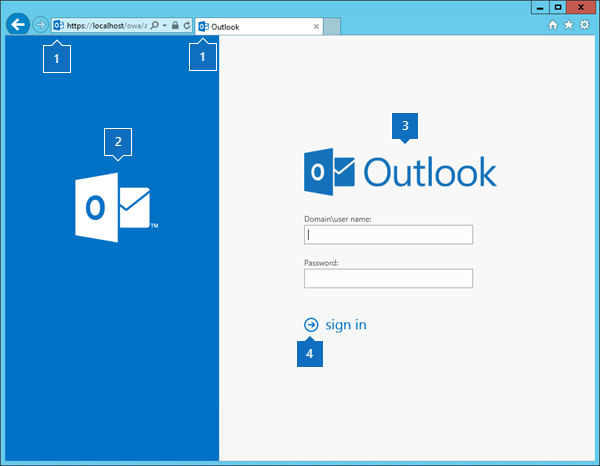
Here are the different graphics that can be changed on the OWA logon page and their associated files:
| Image | File name | Location | Dimensions (width x height in pixels) | Bit depth |
|---|---|---|---|---|
| 1 | favicon.ico | %ExchangeInstallPath%FrontEnd\HttpProxy\owa\auth\<ExchangeVersion>\themes\resources | 16 x 16 | 32 |
| 2 | olk_logo_white.png | %ExchangeInstallPath%FrontEnd\HttpProxy\owa\auth\<ExchangeVersion>\themes\resources | 128 x 108 | 32 |
| 3 | owa_text_blue.png | %ExchangeInstallPath%FrontEnd\HttpProxy\owa\auth\<ExchangeVersion>\themes\resources | 300 x 76 | 32 |
| 4 | Sign_in_arrow.png (for left-to-right languages) Sign_in_arrow_rtl.png (for right-to-left languages) | %ExchangeInstallPath%FrontEnd\HttpProxy\owa\auth\<ExchangeVersion>\themes\resources | 22 x 22 | 32 |
- Just resize your images to the given dimensions in the table, rename them to the file name, and replace the files in the directory.
Change the disclaimer text for your OWA logon page
Next, we want to add a disclaimer to our logon page. To do that, we need to modify the logon.aspx document in the following directory:
%ExchangeInstallPath%FrontEnd\HttpProxy\owa\auth\logon.aspx
Open the file in Notepad or your favorite HTML editor and search for the text ‘hidden-submit’. When you find the text, you can add your disclaimer text under the div class=”disclaimer” tag as I did in the following example:
1 2 3 4 5 6 7 8 9 | <div class="hidden-submit"><input type="submit" tabindex="-1"/></div> <div class="disclaimer"><p><b>Warning</b>: The website you are about to use is owned by Company Name and is intended to be used for official company business. As such, Company Name reserves the right to monitor all activity on all Company Name provided equipment and services. Use of Company Name provided information systems and networks in violation of company guidelines will result in disciplinary action, up to and including prosecution.</p> <p> <b>Violators</b>: They Will Be Prosecuted! </p> </div> </div> |
Save your logon.aspx file and give your OWA server an IISRESET for good measure. You should be good to logon with the new page from that point on.
HAPPY CONFIGURING!
PLEASE COMMENT!
THANKS FOR YOUR SUPPORT!
References:
Customize the Outlook on the web sign-in, language selection, and error pages in Exchange Server
CUSTOMIZE EXCHANGE 2016 OUTLOOK ON THE WEB SIGN IN PAGE
Customizing Exchange 2016 OWA