
In Exchange 2016 CU23 and Exchange 2019 CU12, the ability to create and manage certificates via the GUI has been deprecated per this article: Deprecation of Certificate Tools in Exchange Admin Center GUI – IT Blog (ldlnet.net). So, I wanted to show everyone how to now use PowerShell to do the Exchange Certificate Management as it is handled differently than regular PKI cmdlets and tools are used.
First installment is to do this for a New Certificate for your Exchange Server and NOT a renewal
Generate your CSR
Follow your protocols for setting up your Subject Alternative Name Certificate Domains. I use my UCC SAN Certificate with ADFS as well as Exchange so I have a total of 5 domains listed on my Certificate:
mail.ldlnet.net <– Common Name
adfs.ldlnet.net <– SAN for ADFS Services
download.ldlnet.net <– SAN for Exchange Security Protocol
autodiscover.ldlnet.net <–SAN for Exchange AutoDiscover
owa.ldlnet.net <– SAN For Outlook on the Web
You want to have your Identifiers set for your certificate as well:
C= (Country)
S= (State)
L= (Location)
O= (Organization Name)
OU= (Department Name or Type of Business)
Make sure it is SHA2 / AES256 with 2048 bit Encryption.
Have a file folder where to store the request.
This must be done on your Exchange Server running Exchange Management Shell as it will create the private key pair to encrypt your certificate:
1 | $txtrequest = New-ExchangeCertificate -GenerateRequest -FriendlyName "Your SAN Cert" -SubjectName "C=US,S=NC,L=Charlotte,O='LDLNET LLC',OU=IT,CN=mail.ldlnet.net" -DomainName autodiscover.ldlnet.net,download.ldlnet.net,adfs.ldlnet.net,owa.ldlnet.net -KeySize 2048 -PrivateKeyExportable $true ; [System.IO.File]::WriteAllBytes('\\web010.yourserver.com\C$\Certs\LDLNET2023.req', [System.Text.Encoding]::Unicode.GetBytes($txtrequest)) |
That should create a CSR file that you will use to upload or copy/paste to according to your Certificate Provider. It will look something like the following:
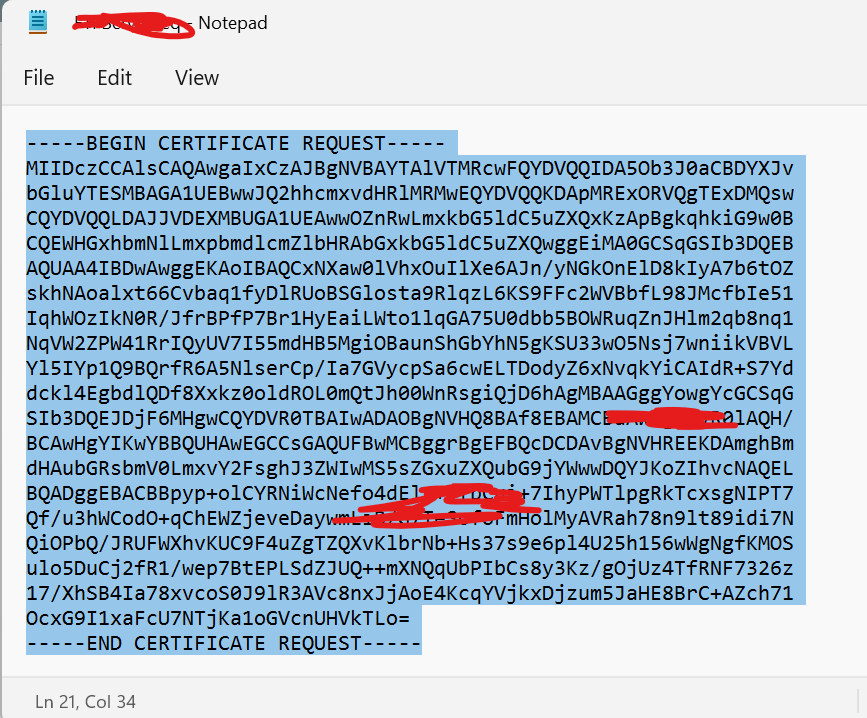
Complete The CSR Request
Once you have validated your certificate and downloaded from your provider, you will unzip the certificates and place your .crt file in a directory on the same exchange server you generated the request from. I saved mine to the c:\root\ directory.
Next run the following cmdlet to Import the Exchange Certificate and complete the CSR request that you Generated:
1 | Import-ExchangeCertificate -FileData ([System.IO.File]::ReadAllBytes('\\ex2019-01\c$\root\mail.ldlnet.net.crt')) -Password (ConvertTo-SecureString -String 'P@ssw0rd1" -AsPlainText -Force) -PrivateKeyExportable:$true -Server ex2019-01.yourdomain.com |
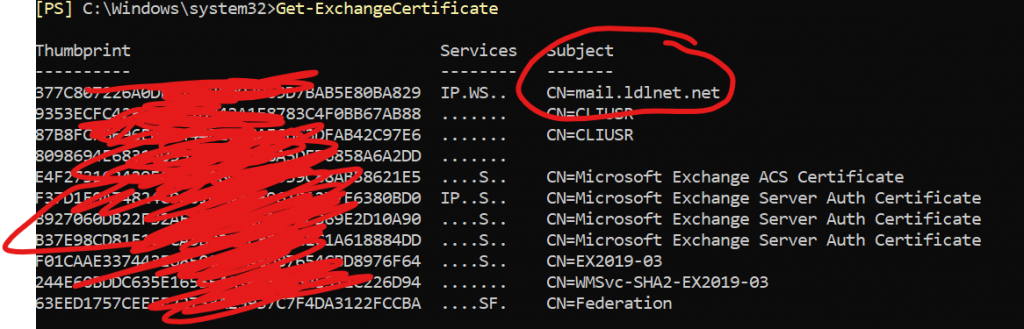
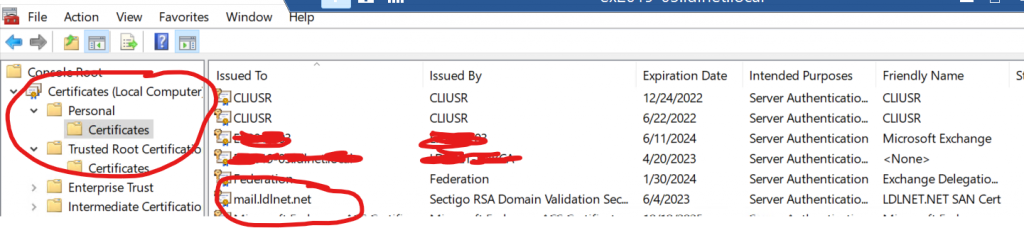
If there are no errors, then you should see the certificate with the new thumbprint in the Exchange Certificate List as well as in the Personal Certificate Store of the Certificates MMC Snap-In:
Enable Exchange Services to the Certificate
Next, we need to Enable the certificate to be used for all the services in Exchange. That is done with the following cmdlet:
1 | Enable-ExchangeCertificate -Thumbprint <YourImportedCertificateThumbprint> -Services IIS,SMTP,POP,IMAP |
NOTE: Choose Yes to overwrite the existing Default SMTP Certificate and validate the new thumbprint will replace it. Since this is a new installation, this is the proper method.

Export the PFX Certificate
Once that is completed, we will need to export the working certificate to use for our other Exchange Servers so that the Exchange services on those servers use the same certificate. To do this properly, we need to export the certificate as a .pfx (PKCS #12 Personal File Exchange) Certificate. This was why making the Private Key Exportable in the CSR was so important. You need to extract the key pair when exporting the certificate so that you can properly use it on the other Exchange Servers.
The process has TWO lines of commands to export. Remember to choose a directory to save the .pfx to and choose a password that you will remember as you will need it to import on the other servers. The procedure to export our working certificate is as follows:
1 2 3 | $cert = Export-ExchangeCertificate -Thumbprint <YourWorkingCertificateThumbprint> -BinaryEncoded -Password (ConvertTo-SecureString -String 'YourPa$$w0rd' -AsPlainText -Force) [System.IO.File]::WriteAllBytes('C:\root\LDLNET2023final.pfx', $cert.FileData) |
Import the PFX to the other Exchange Servers and Install
Copy the file to the other Exchange Server and run the import procedure. Remember to set the path to the .pfx file, set the Exchange Server you are installing on, and MAKE THE PRIVATE KEY EXPORTABLE, just in case you lose the .pfx file. See example:
1 | Import-ExchangeCertificate -FileData ([System.IO.File]::ReadAllBytes('\\ex2019-01\c$\root\LDLNET2023final.pfx')) -Password (ConvertTo-SecureString -String 'YourPa$$w0rd" -AsPlainText -Force) -PrivateKeyExportable:$true -Server ex2019-other.yourdomain.com |
Enable the Exchange Services for the imported certificate the same way as above.
1 | Enable-ExchangeCertificate -Thumbprint <YourImportedCertificateThumbprint> -Services IIS,SMTP,POP,IMAP |
You should then be good to go for that Exchange Server!
PING ME WITH QUESTIONS! I WILL UPDATE AS NEEDED!
THANKS FOR READING!
About Lance Lingerfelt

Lance Lingerfelt is an M365 Specialist and Evangelist with over 20 years of experience in the Information Technology field. Having worked in enterprise environments to small businesses, he is able to adapt and provide the best IT Training and Consultation possible. With a focus on AI, the M365 Stack, and Healthcare, he continues to give back to the community with training, public speaking events, and this blog.